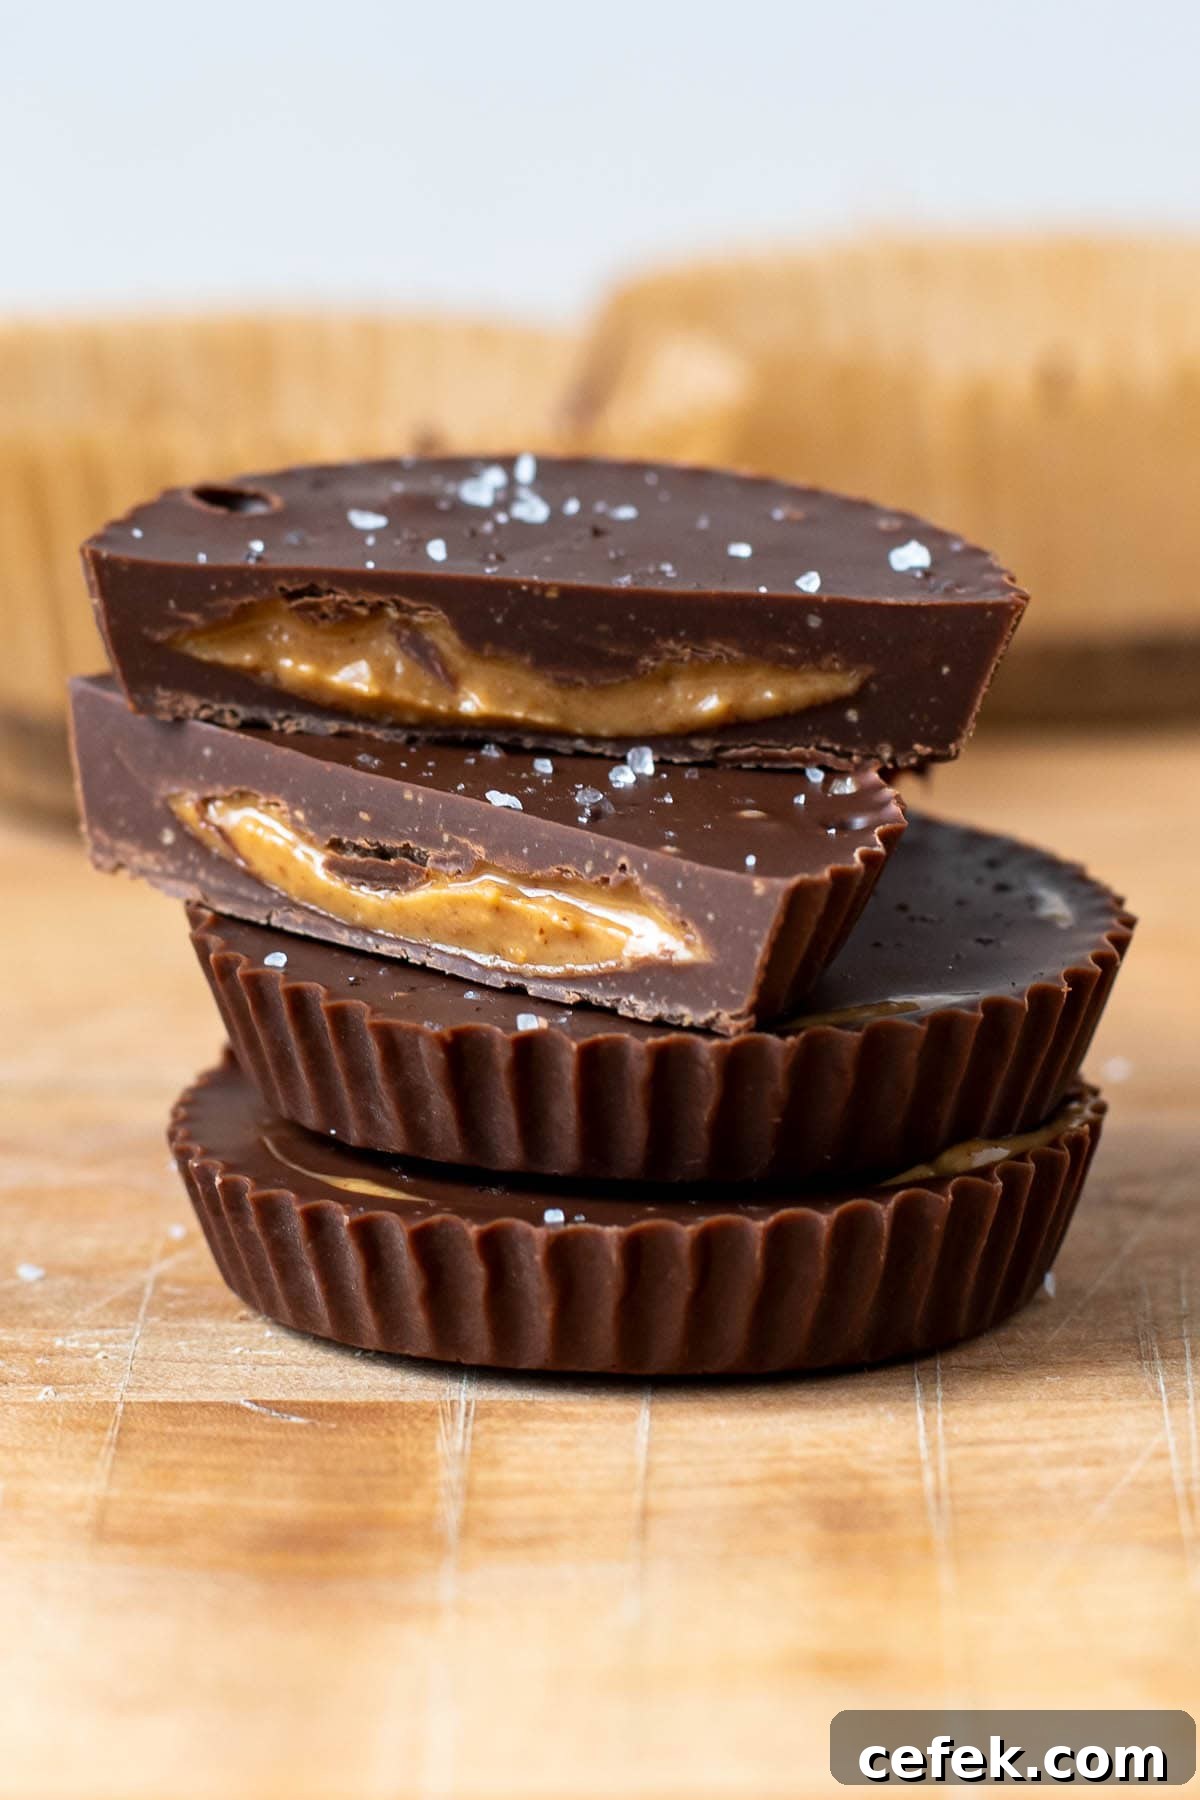
These 2-ingredient homemade peanut butter cups are far superior to anything you can buy at the store. They take about 15 minutes to prepare plus a short freeze, and they use just two simple ingredients for an indulgent, satisfying treat. The result is rich, perfectly balanced chocolate with a creamy peanut butter center—an easy dessert or snack that feels special but is effortless to make.
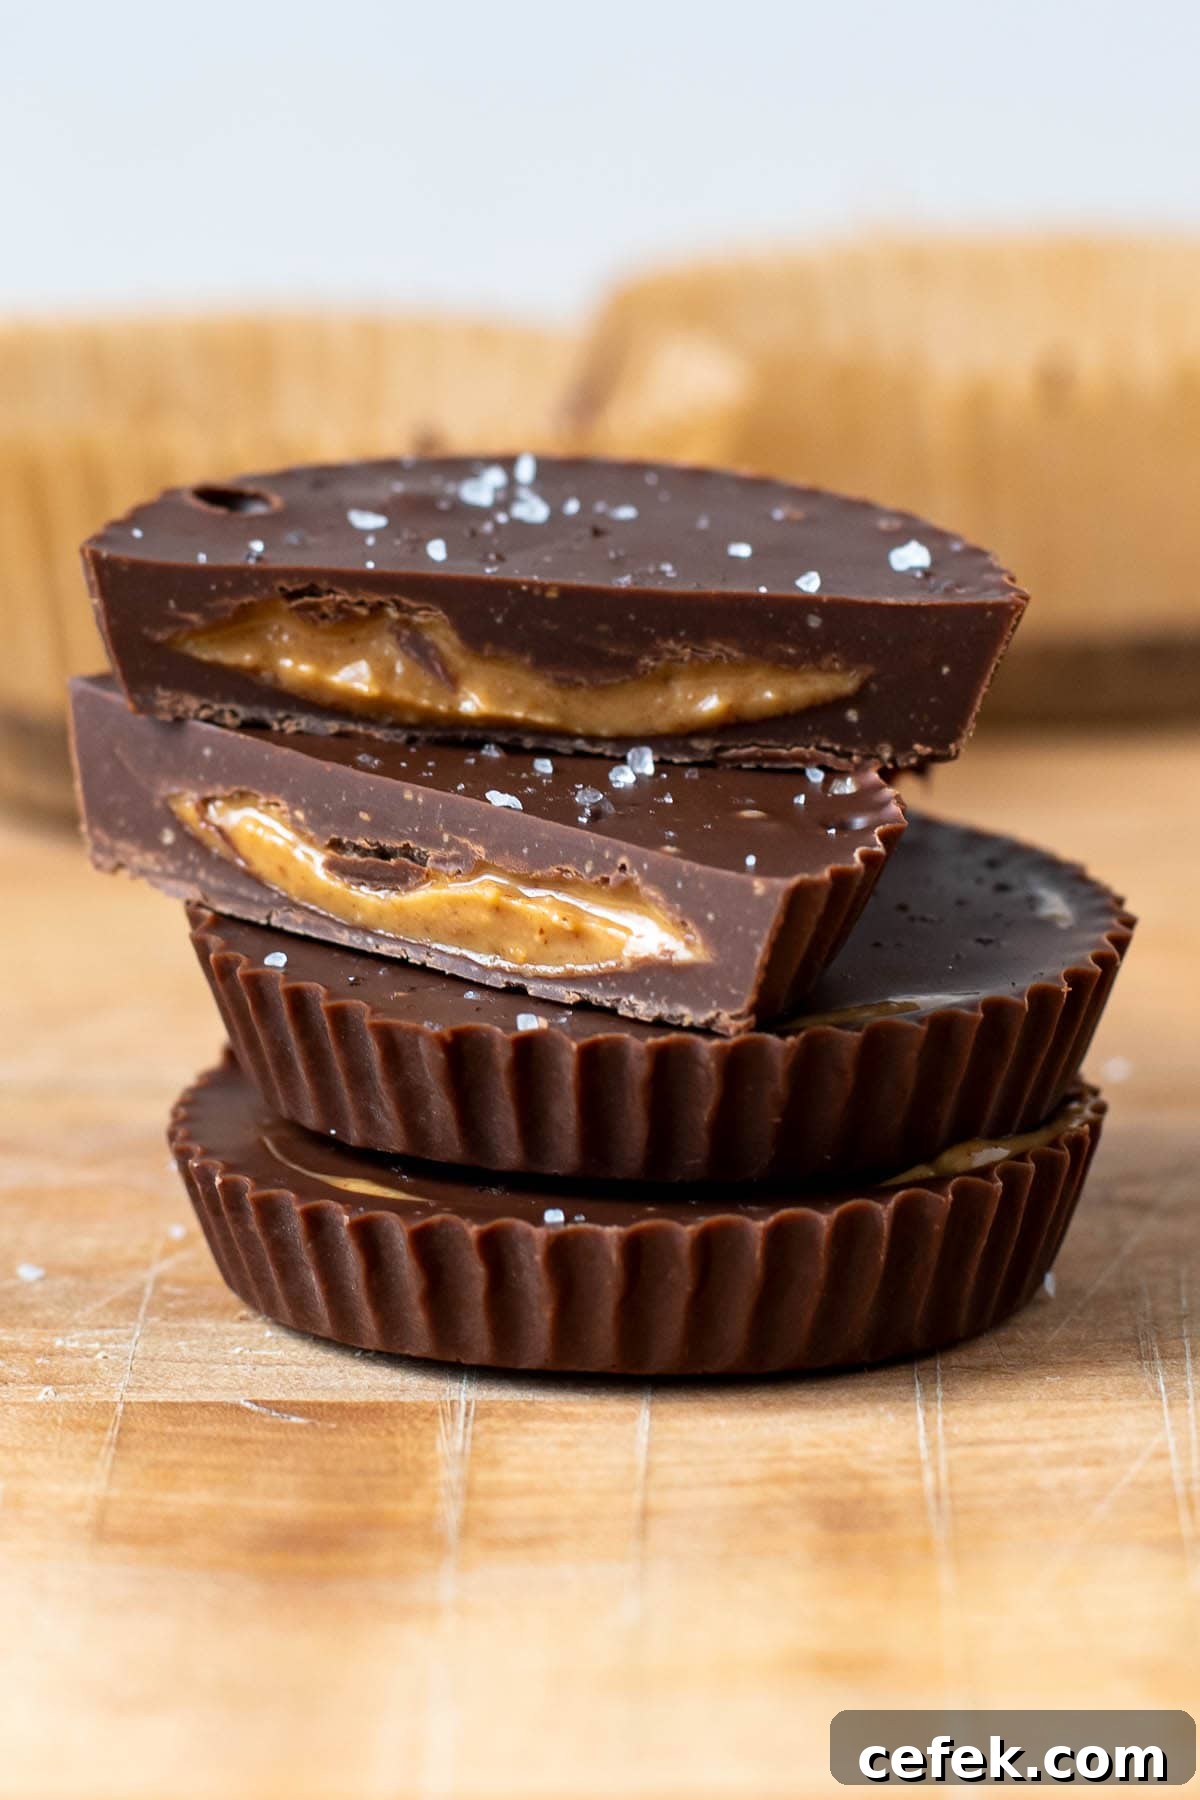
I make these peanut butter cups with vegan semi-sweet chocolate chips and creamy natural peanut butter, so they are naturally dairy-free, egg-free, and gluten-free when using gluten-free chocolate. A light sprinkle of sea salt on top contrasts beautifully with the sweet chocolate and creamy filling, creating that irresistible sweet-and-salty bite.
Because the chocolate is mixed with a bit of peanut butter for the shell, the exterior is extra creamy and rich while still holding the filling in place. The recipe delivers a texture and flavor that many people prefer over mass-produced peanut butter cups—the peanut butter stays fresh-tasting and silky, and you control the sweetness and salt.
Why This Recipe Works
- Melted semi-sweet chocolate combined with creamy peanut butter yields a smooth, rich exterior that sets up into a satisfying shell.
- A light finishing sprinkle of sea salt enhances the chocolate and peanut butter flavors, creating a pleasing sweet-and-salty contrast.
Ingredients
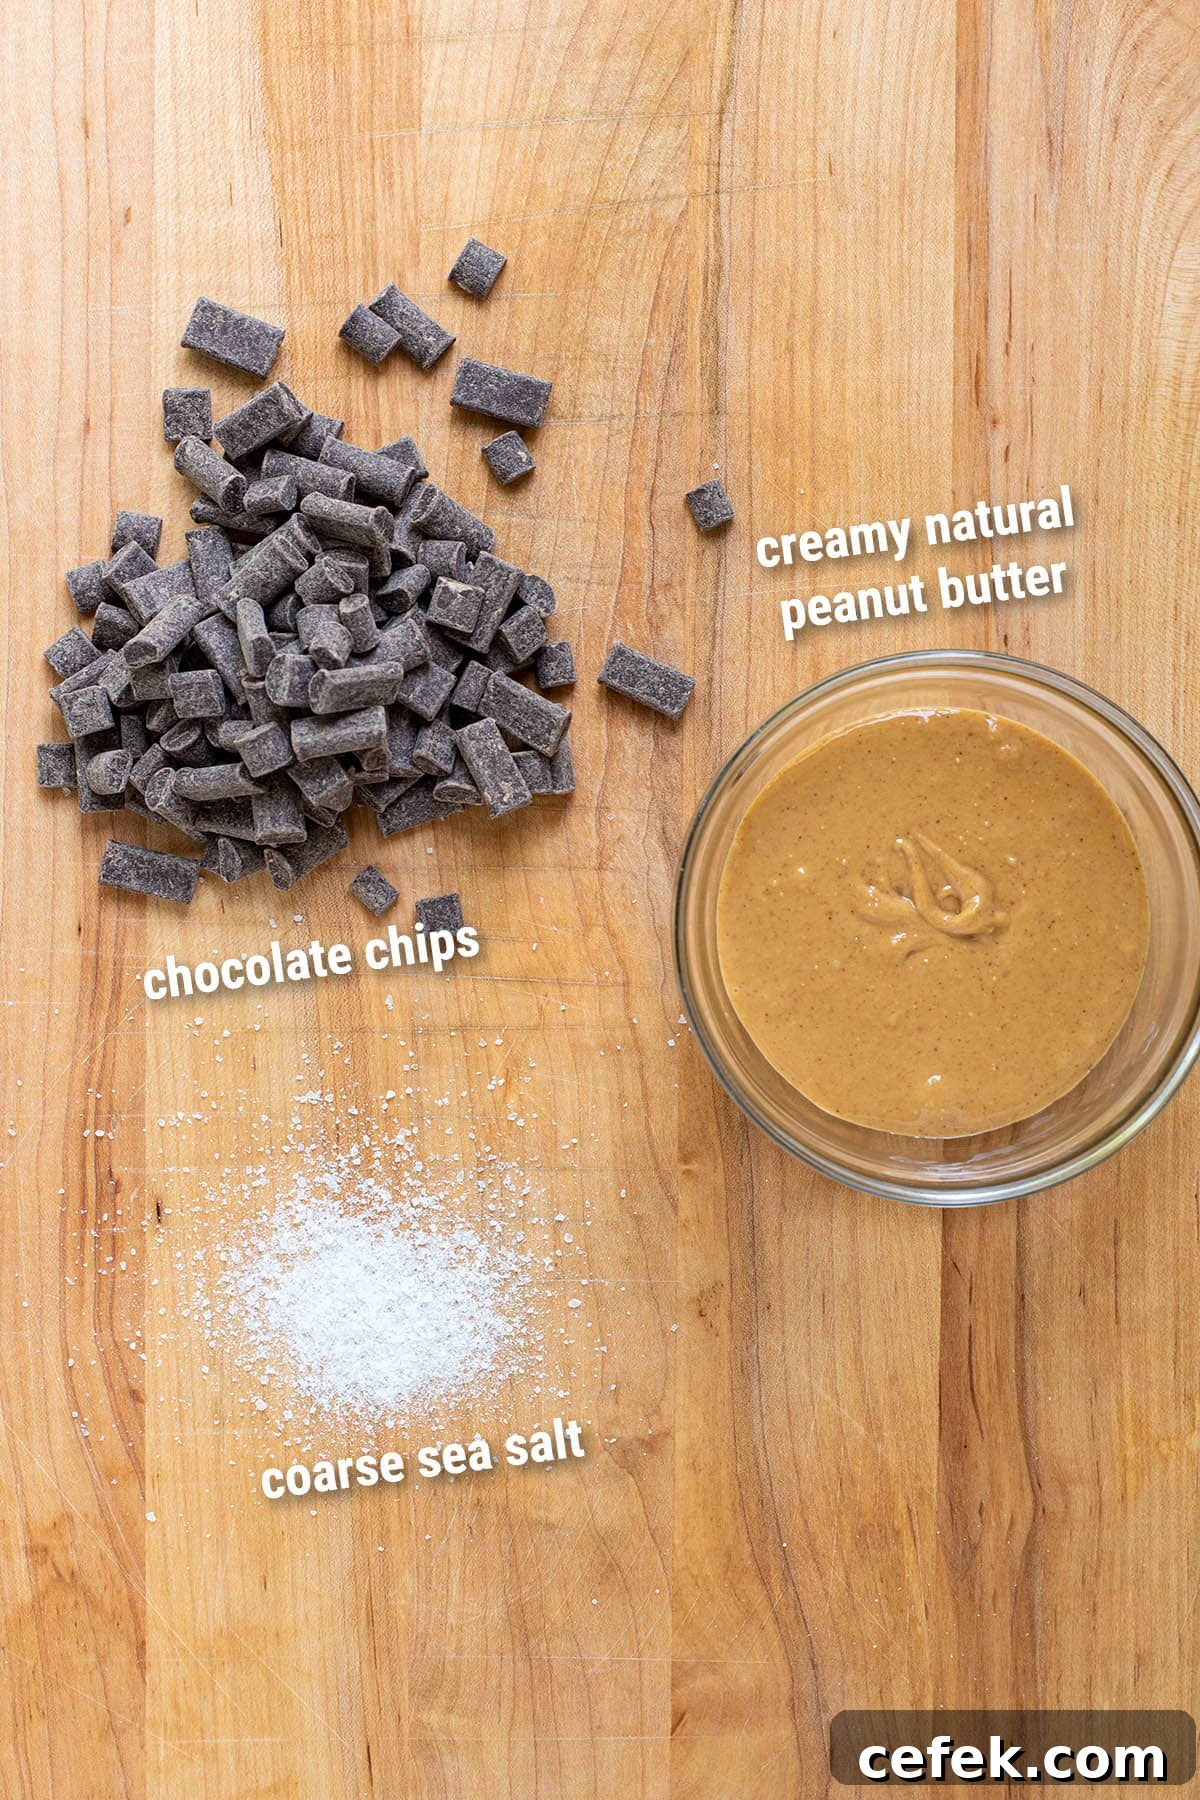
- Semi-sweet chocolate chips — 1 cup (use a dairy-free/vegan brand if desired)
- Creamy natural peanut butter — 1/4 cup, plus extra for spooning into each cup (about 1 teaspoon per cup)
- Sea salt — for finishing, optional
The recipe card below includes exact quantities, yields, and nutrition information.
How to Make Homemade Peanut Butter Cups
Key tip: Stir a bit of peanut butter into the melted chocolate to deepen the flavor and improve the texture of the shell. Work while the chocolate is still warm so it spreads smoothly into the liners.
Step 1.
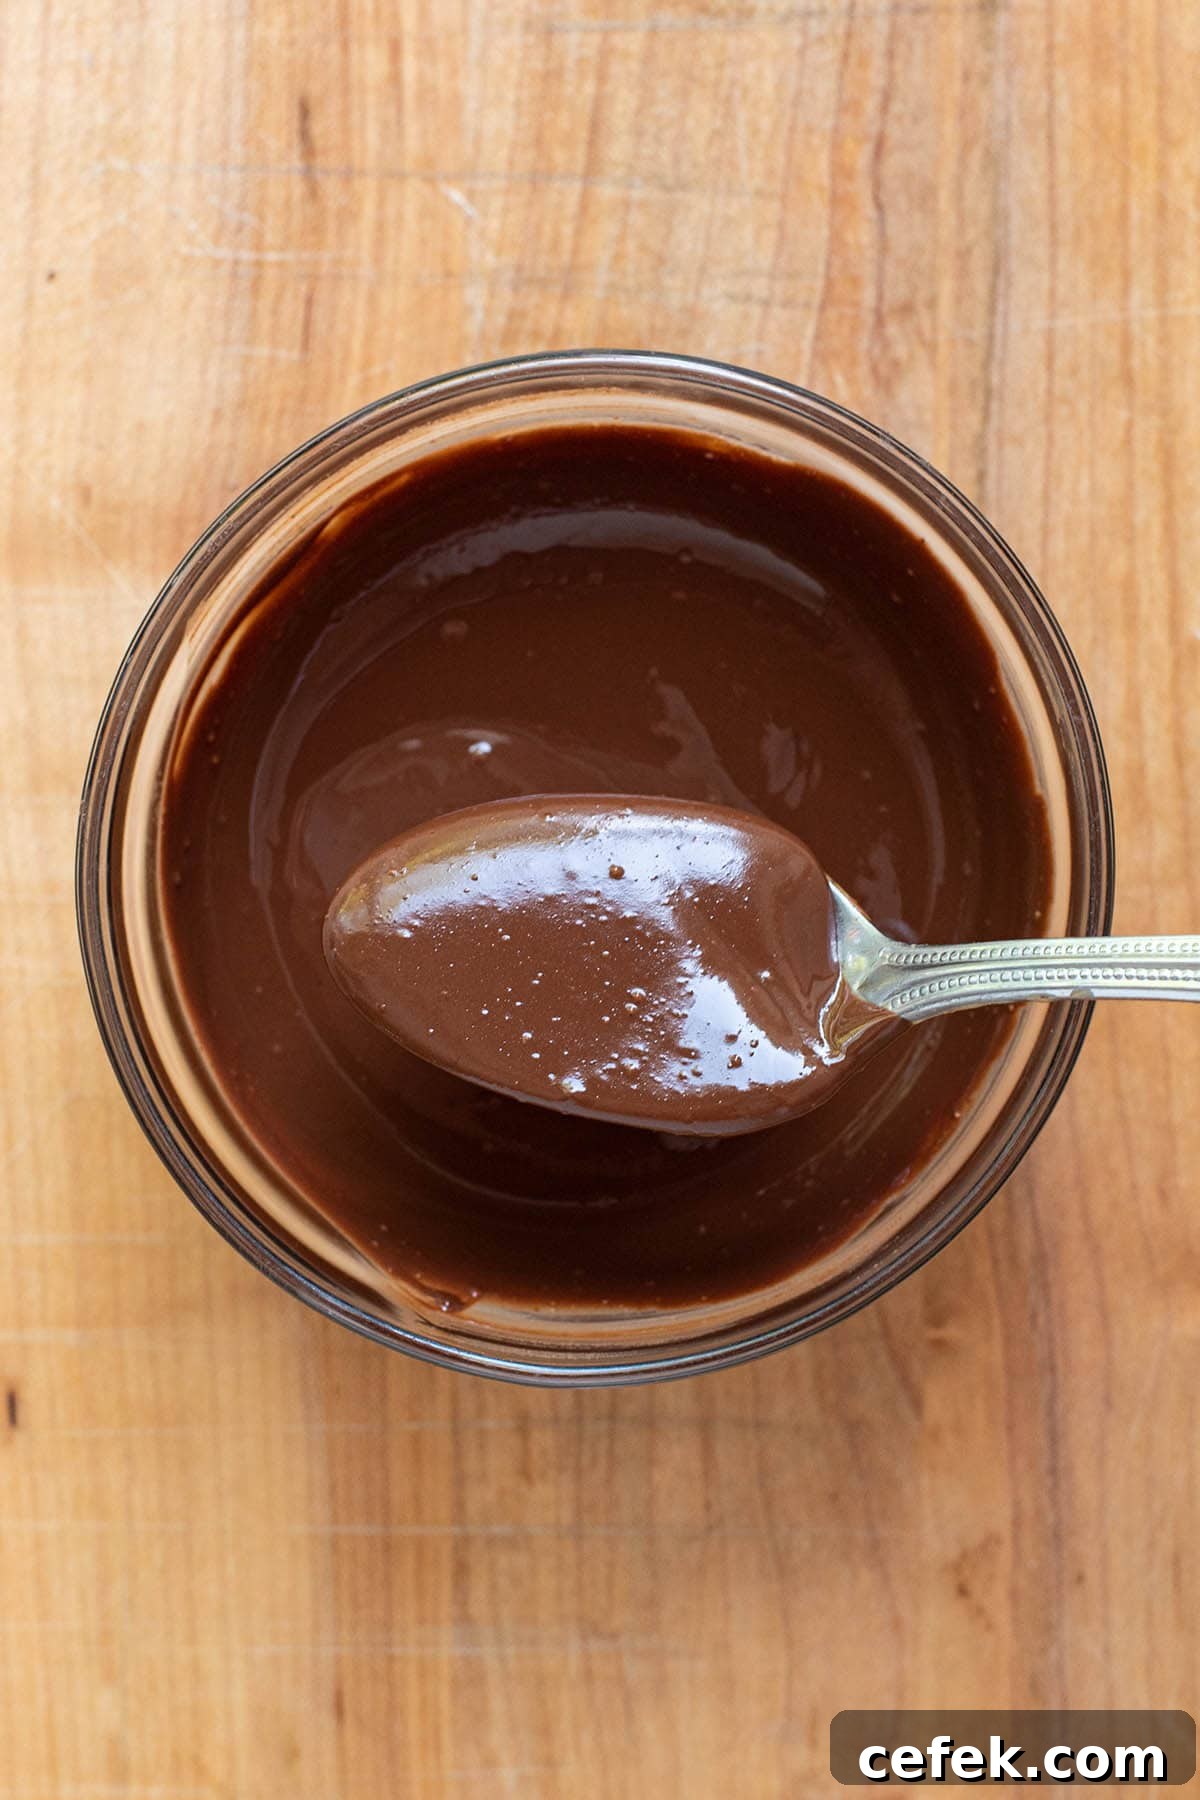
Place the chocolate chips in a microwave-safe bowl and heat in 30-second intervals, stirring between bursts, until fully melted and smooth. Stir in 1/4 cup creamy natural peanut butter until completely incorporated and silky.
Step 2.
Line a standard muffin tin with paper liners. Spoon a small amount of the chocolate mixture into each liner, spreading to create an even base layer roughly 1/8 inch thick (about a scant tablespoon). Gently jiggle the pan so the chocolate settles evenly and forms a smooth base.
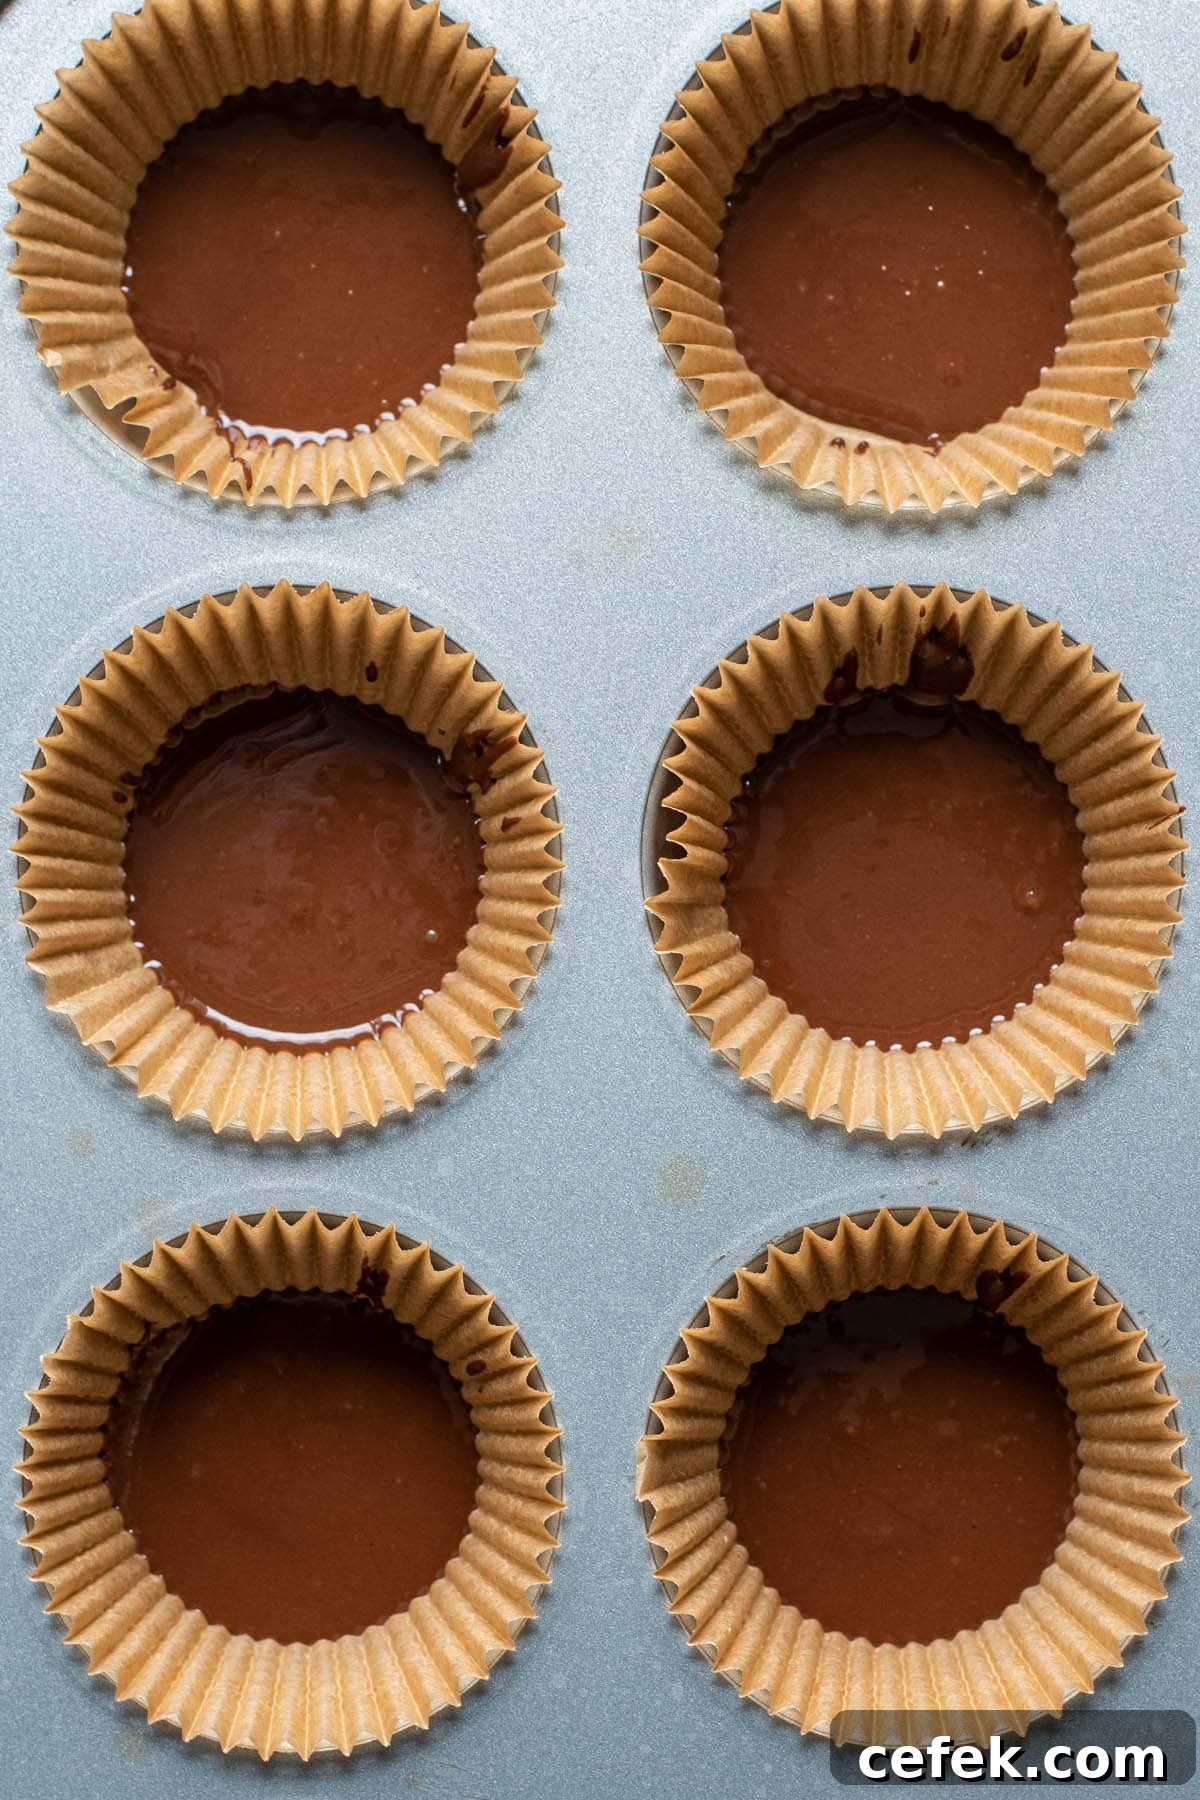
Step 3.
Drop about 1 teaspoon of additional creamy natural peanut butter into the center of each chocolate base. Keep the dollop centered and don’t worry about exact precision—these are rustic, homemade candies.
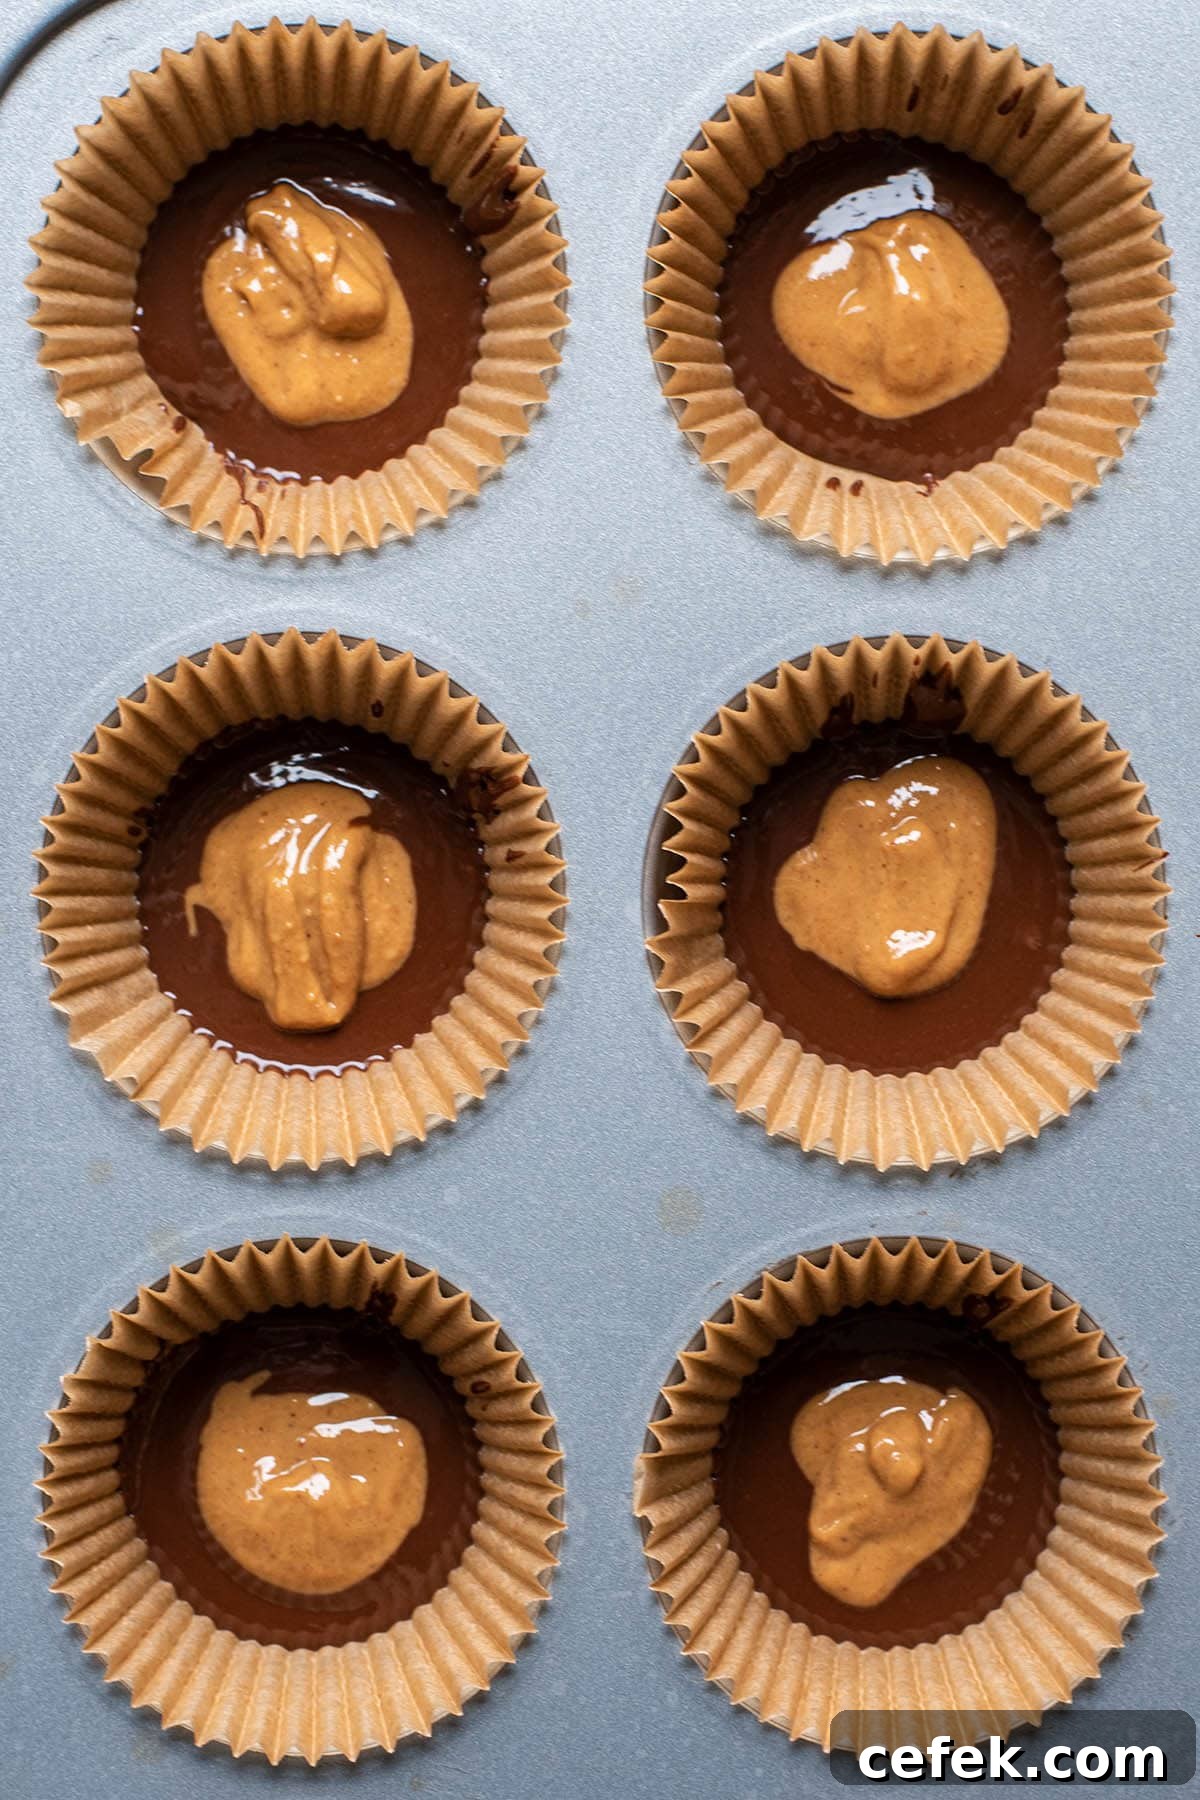
Step 4.
Spoon another 1–2 teaspoons of the chocolate mixture over each peanut butter dollop to fully cover it. Use the back of the spoon to smooth the chocolate so the top is level. Tap or jiggle the muffin tin to remove air bubbles and level the tops. If desired, lightly sprinkle a pinch of coarse sea salt on each cup.
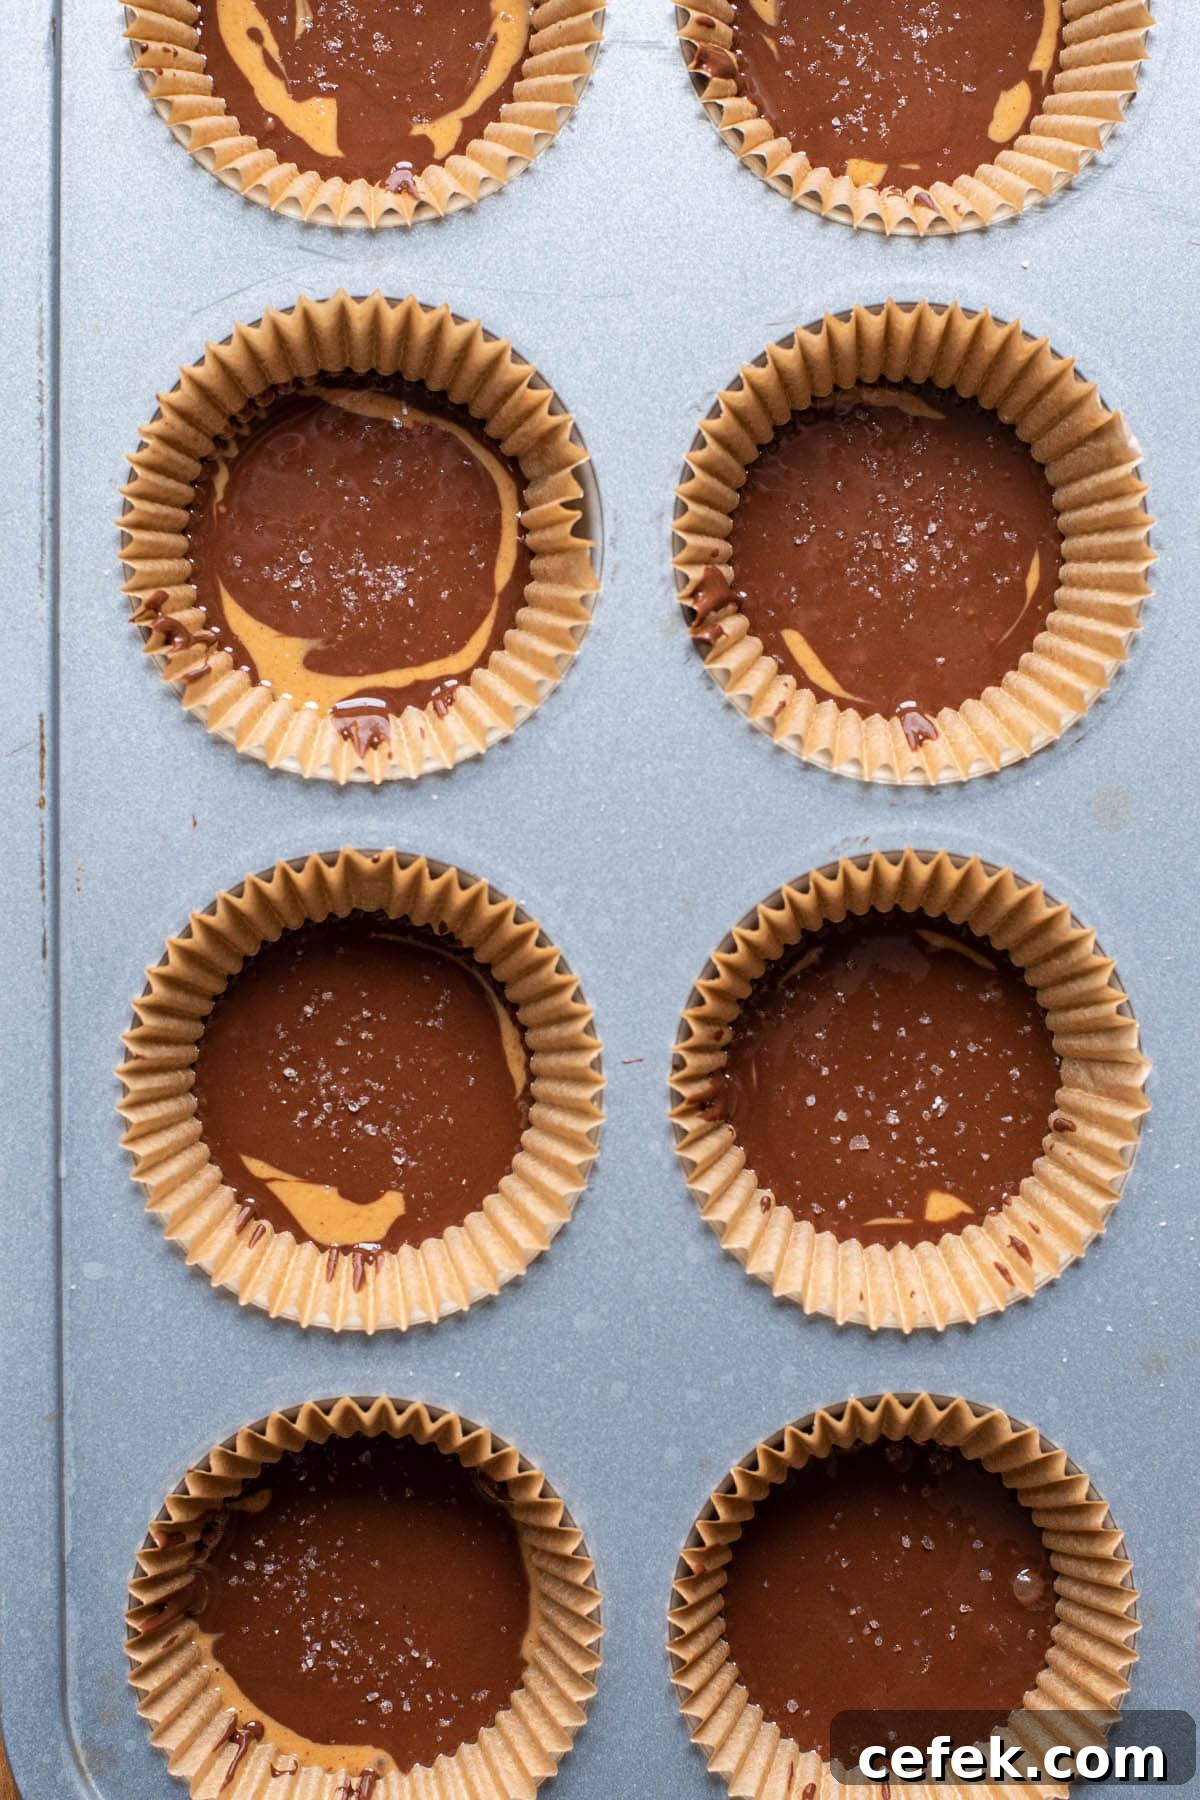
Step 5.
Cover the pan and place it in the freezer for 30 minutes, or until the chocolate is fully set. Remove the peanut butter cups a few minutes before serving if you prefer a softer texture, or enjoy them straight from the freezer for a firmer, refreshing bite.
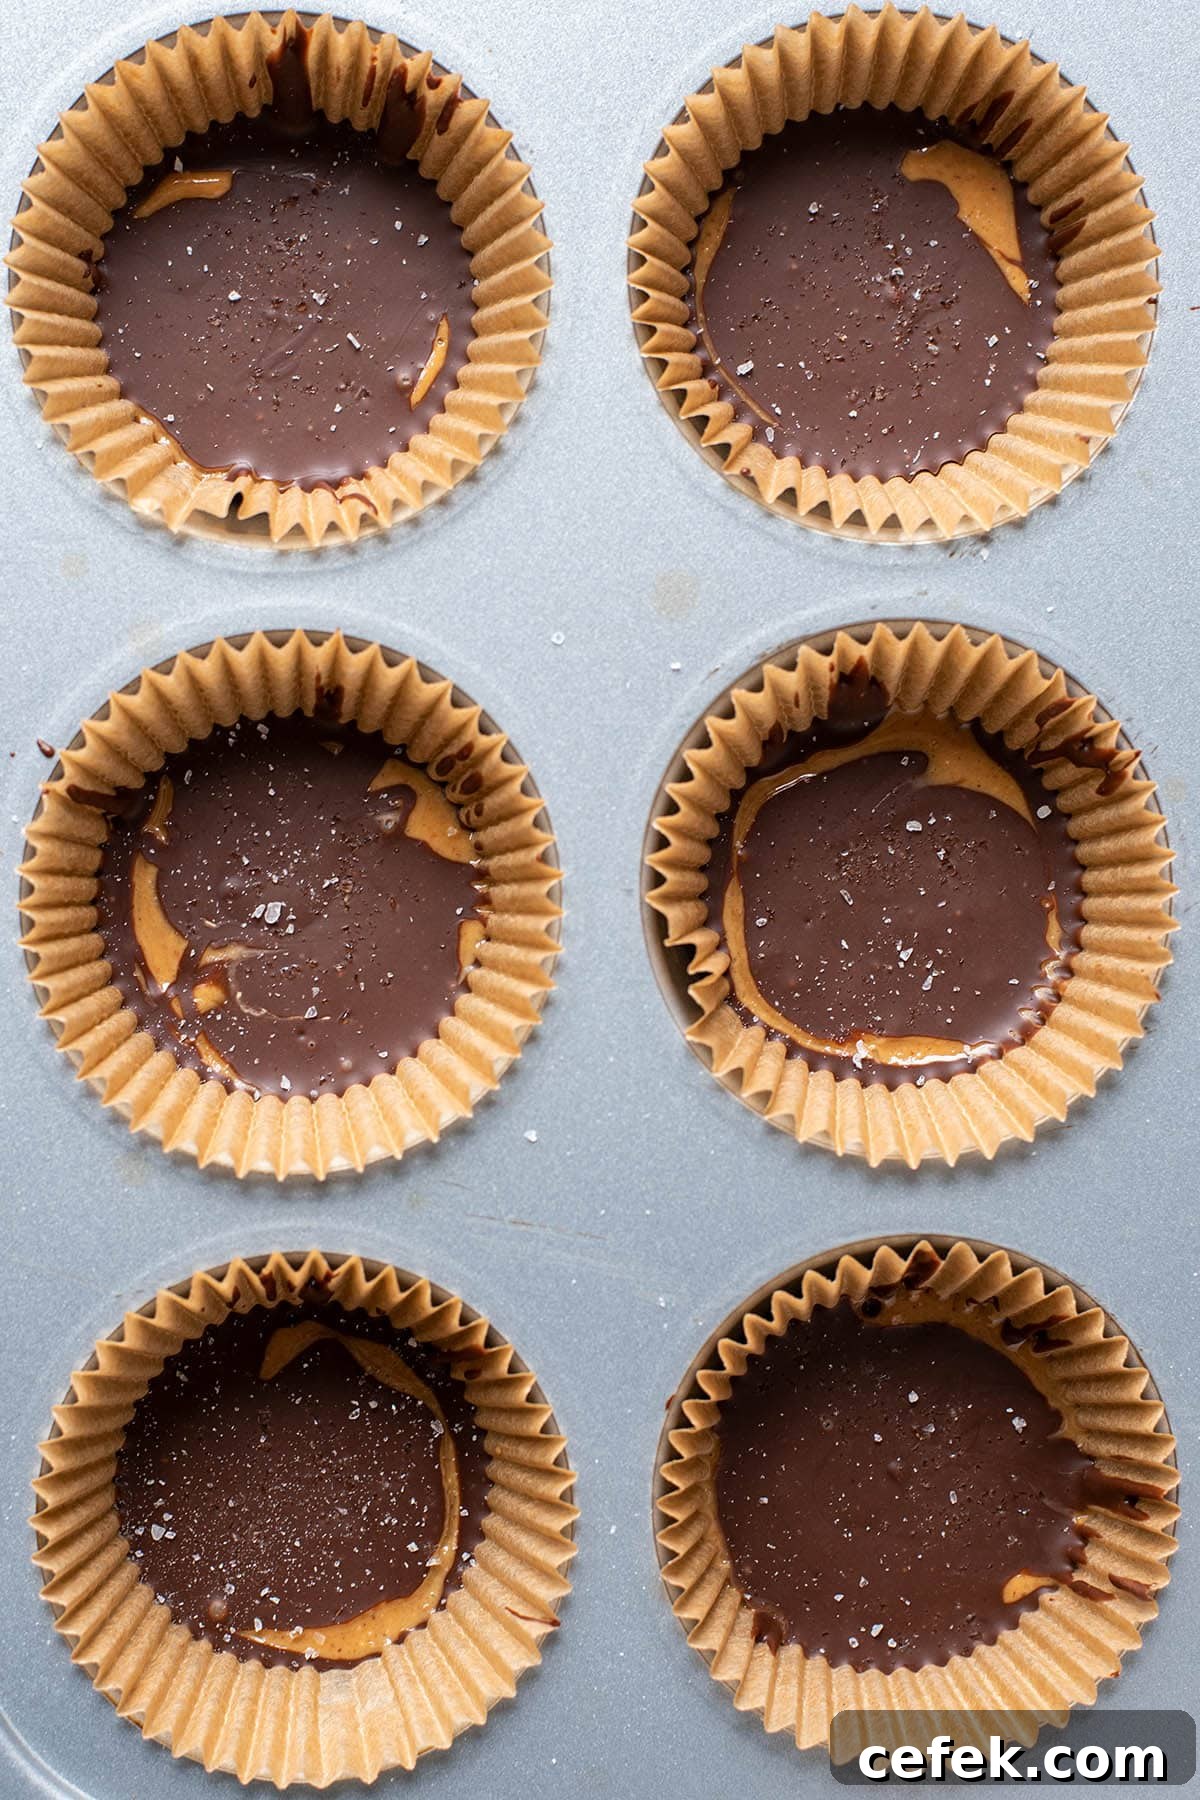
Expert Tips
- Use a muffin tin with liners for easy removal and the classic ridged look. The liners also make storage simple—keep the cups in their liners when you freeze or refrigerate them.
- Smooth natural peanut butter works best because it is slightly runny and spreads easily. Regular, overly thick peanut butter can be difficult to shape and may not yield the right texture.
- Store these peanut butter cups in a sealed container in the freezer for best freshness. They keep well and are easy to portion out for snacks or desserts.
Frequently Asked Questions
A muffin tin with liners and warm melted chocolate make assembly simple. Spreading an even thin layer of chocolate for the base, adding a centered peanut butter dollop, and topping with chocolate gives a consistent, neat result.
Creamy natural peanut butter is ideal because it’s a little runnier and blends well with the chocolate. Avoid extra-thick or heavily processed peanut butter for the best texture.
Store them in a sealed container in the freezer. Keep them in their liners and stack gently in a Tupperware or airtight container. Let them sit at room temperature for a few minutes before eating if you want a softer texture.
More Dessert Recipes
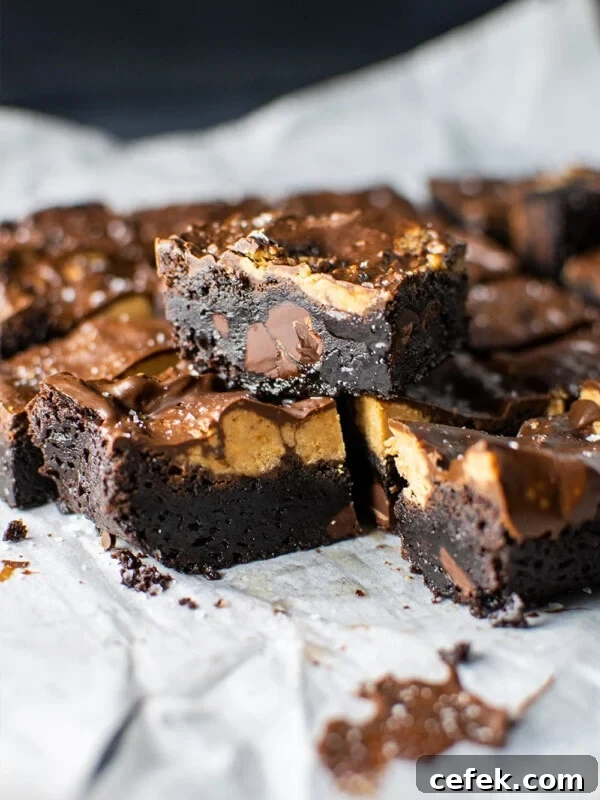
Reese’s Peanut Butter Cup Crack Brownies Recipe
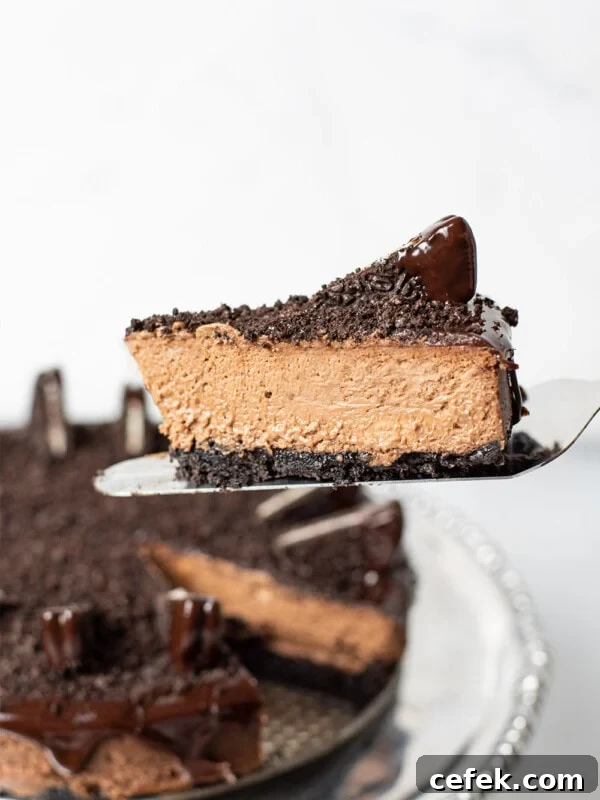
Easy Chocolate Oreo Cheesecake Recipe
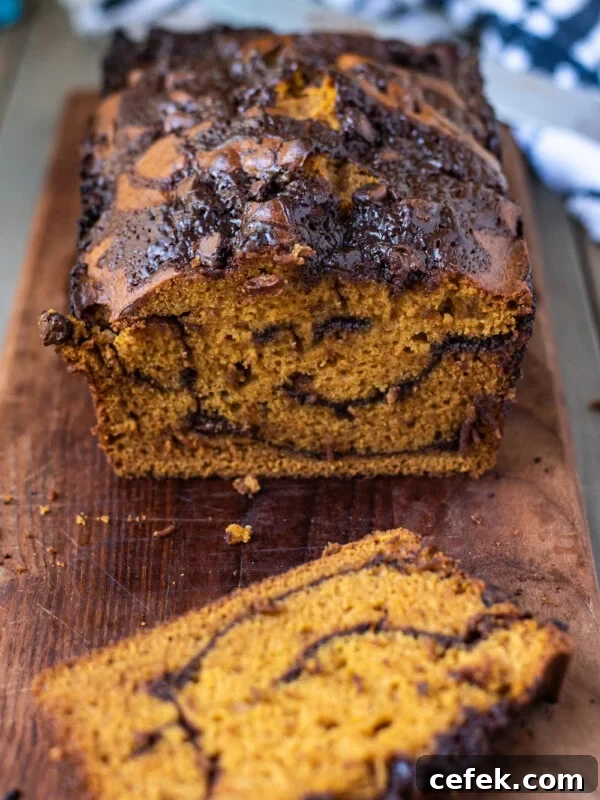
Chocolate Swirl Pumpkin Bread Recipe
Enjoy this recipe? If you made it, please leave a star rating and a review in the comments to help others find it.
2-Ingredient Peanut Butter Cups
Ingredients
- 1 cup semi-sweet chocolate chips (use a vegan brand if desired)
- 1/4 cup creamy natural peanut butter (plus about 1 teaspoon extra per cup for filling)
- Sea salt, for sprinkling (optional)
Instructions
- Add chocolate chips to a microwave-safe bowl and heat in 30-second intervals, stirring between each interval, until smooth and fully melted. Stir in 1/4 cup peanut butter until fully incorporated and smooth.
- Line a muffin tin with paper liners. Spoon a small amount of the chocolate mixture into each liner, spreading to make an even base layer about 1/8 inch thick (roughly 1 scant tablespoon). Gently jiggle the pan to level the chocolate.
- Place a small dollop of peanut butter in the center of each cup, roughly 1 teaspoon per cup.
- Top each dollop with another 1–2 teaspoons of chocolate to cover the peanut butter. Use the back of the spoon to smooth the tops. Sprinkle with sea salt if desired.
- Cover the pan with foil or a lid and freeze for 30 minutes. Serve frozen for a firmer texture, or let the cups rest at room temperature for about 5 minutes for a softer bite.
Notes
These peanut butter cups keep best in the freezer stored in an airtight container. Leave them in their liners and stack carefully in a Tupperware or similar container. Let them soften slightly at room temperature before eating if you prefer a chewier texture.
Smooth natural peanut butter is recommended because it has the right consistency to form a creamy center that works well with the chocolate shell. Assemble while the chocolate is still warm so it spreads easily.
Nutrition
Serving: 1 peanut butter cup — Calories: 170 kcal; Carbohydrates: 14.3 g; Protein: 4 g; Fat: 12 g; Saturated Fat: 4.7 g; Sodium: 42 mg; Fiber: 2.3 g; Sugar: 9.7 g.
Nutrition information is automatically calculated and should be used as an approximation.
Additional Info
Tried this recipe?
Share how yours turned out and tag the recipe source or leave a comment with tips and variations.